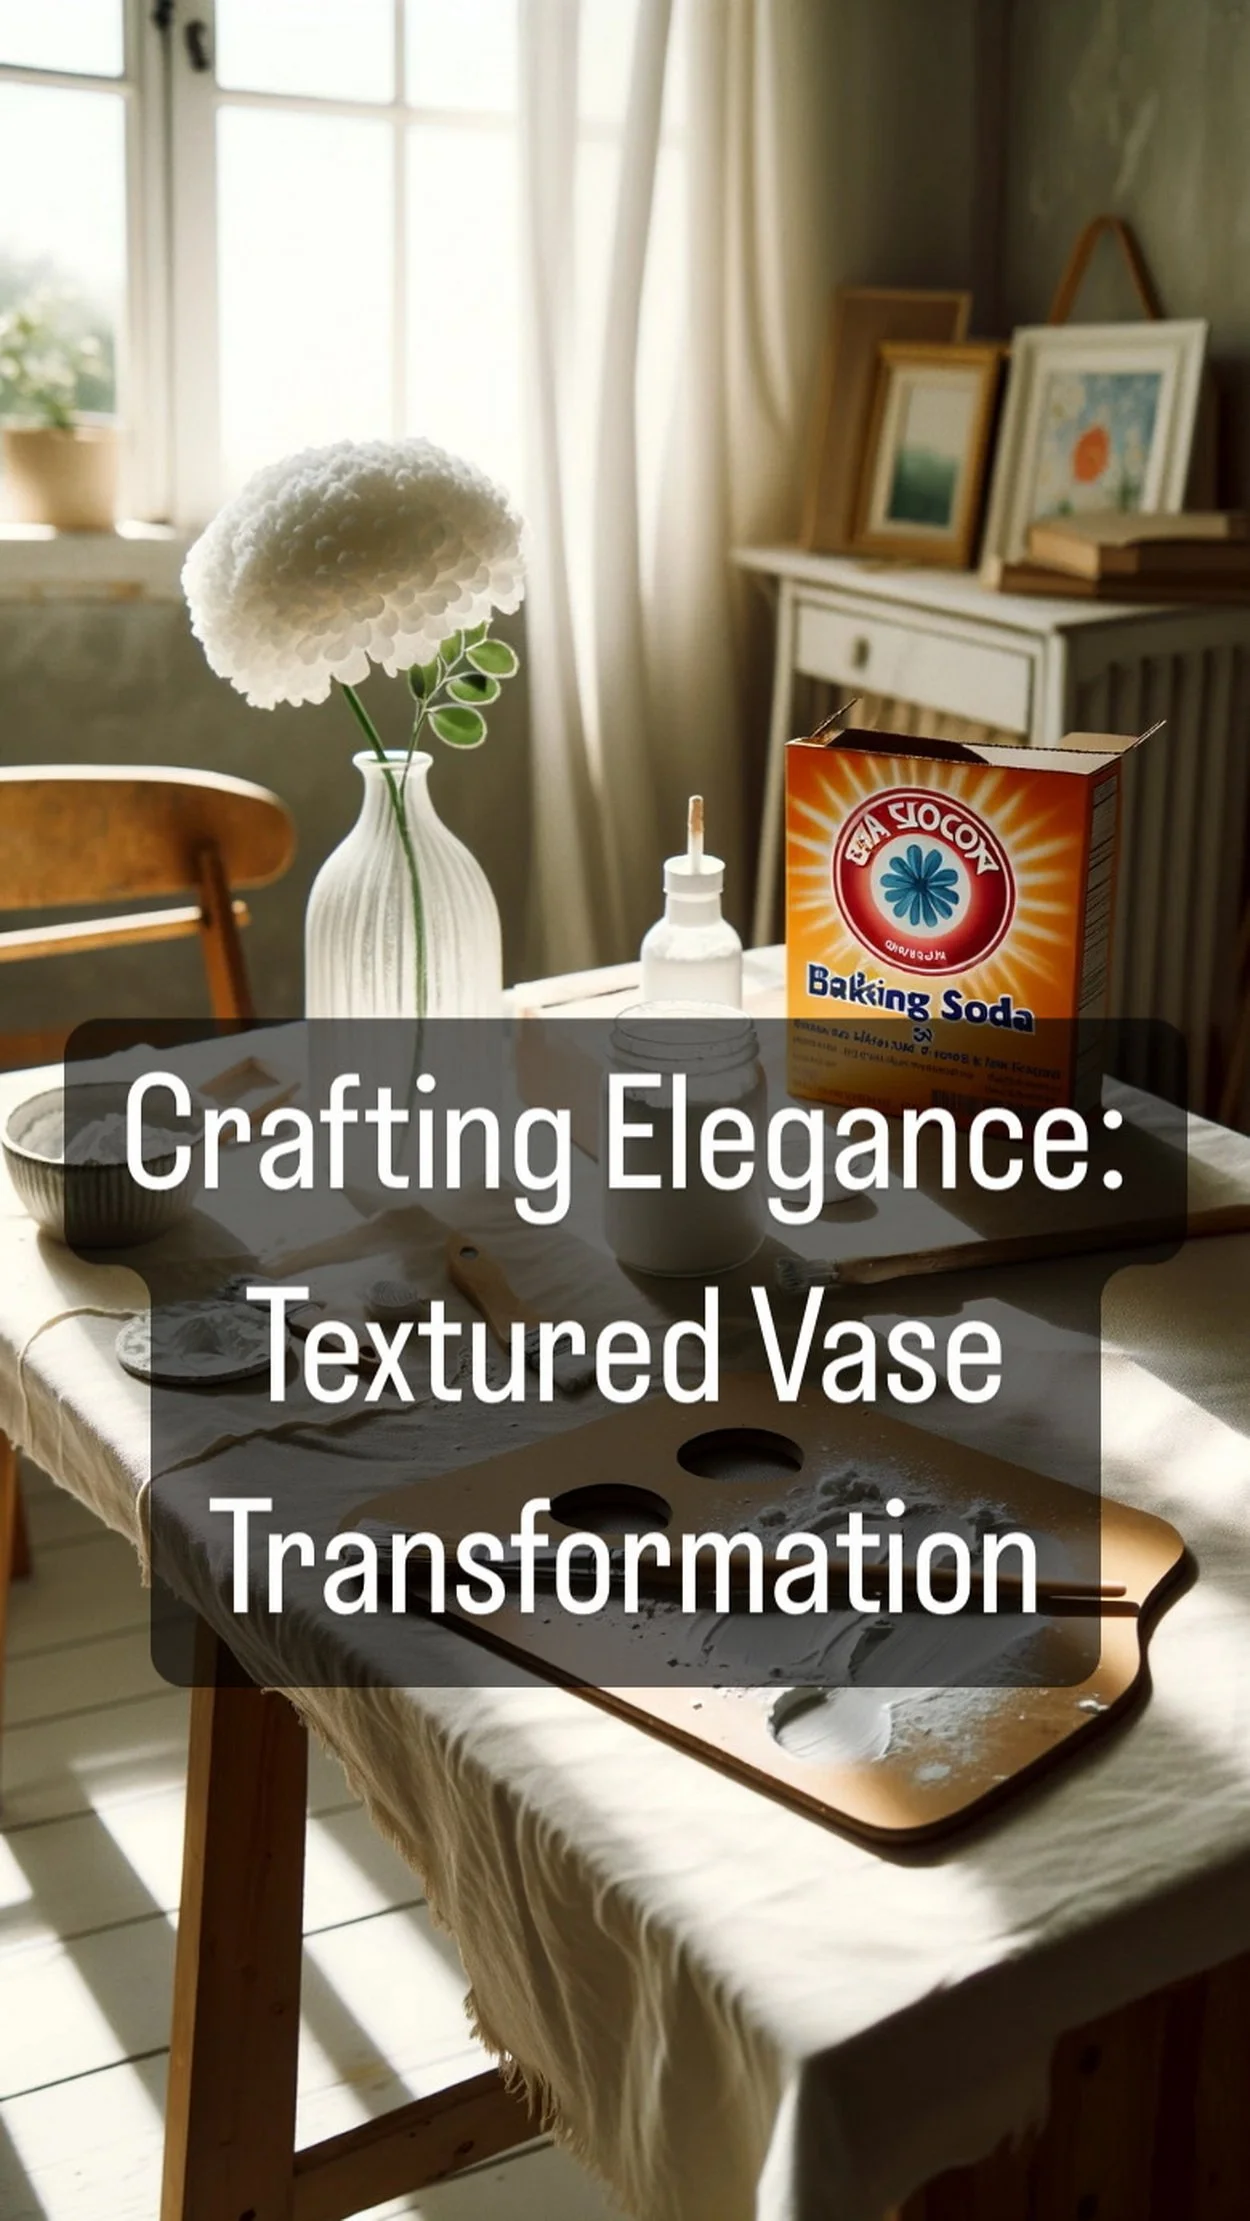
Transform Your Vase: A Textured Paint DIY
Welcome to a new chapter of your DIY journey, where ordinary meets extraordinary through the alchemy of creativity. Today, we're embarking on a delightful project that will turn a simple, plain vase into an object d’art, infused with texture and personality. Whether you're a seasoned DIY enthusiast or a curious beginner, this "Textured Vase Transformation" will add a touch of bespoke elegance to any corner of your home.
In the next few paragraphs, you'll discover how to harness the humble magic of baking soda and paint to give life to a unique piece that’s as functional as it is stylish. So, roll up your sleeves, gather your materials, and prepare to transform the mundane into the magnificent with a few simple strokes of your brush. Let’s create something beautiful together!

Transform Your Vase: A Textured Paint DIY
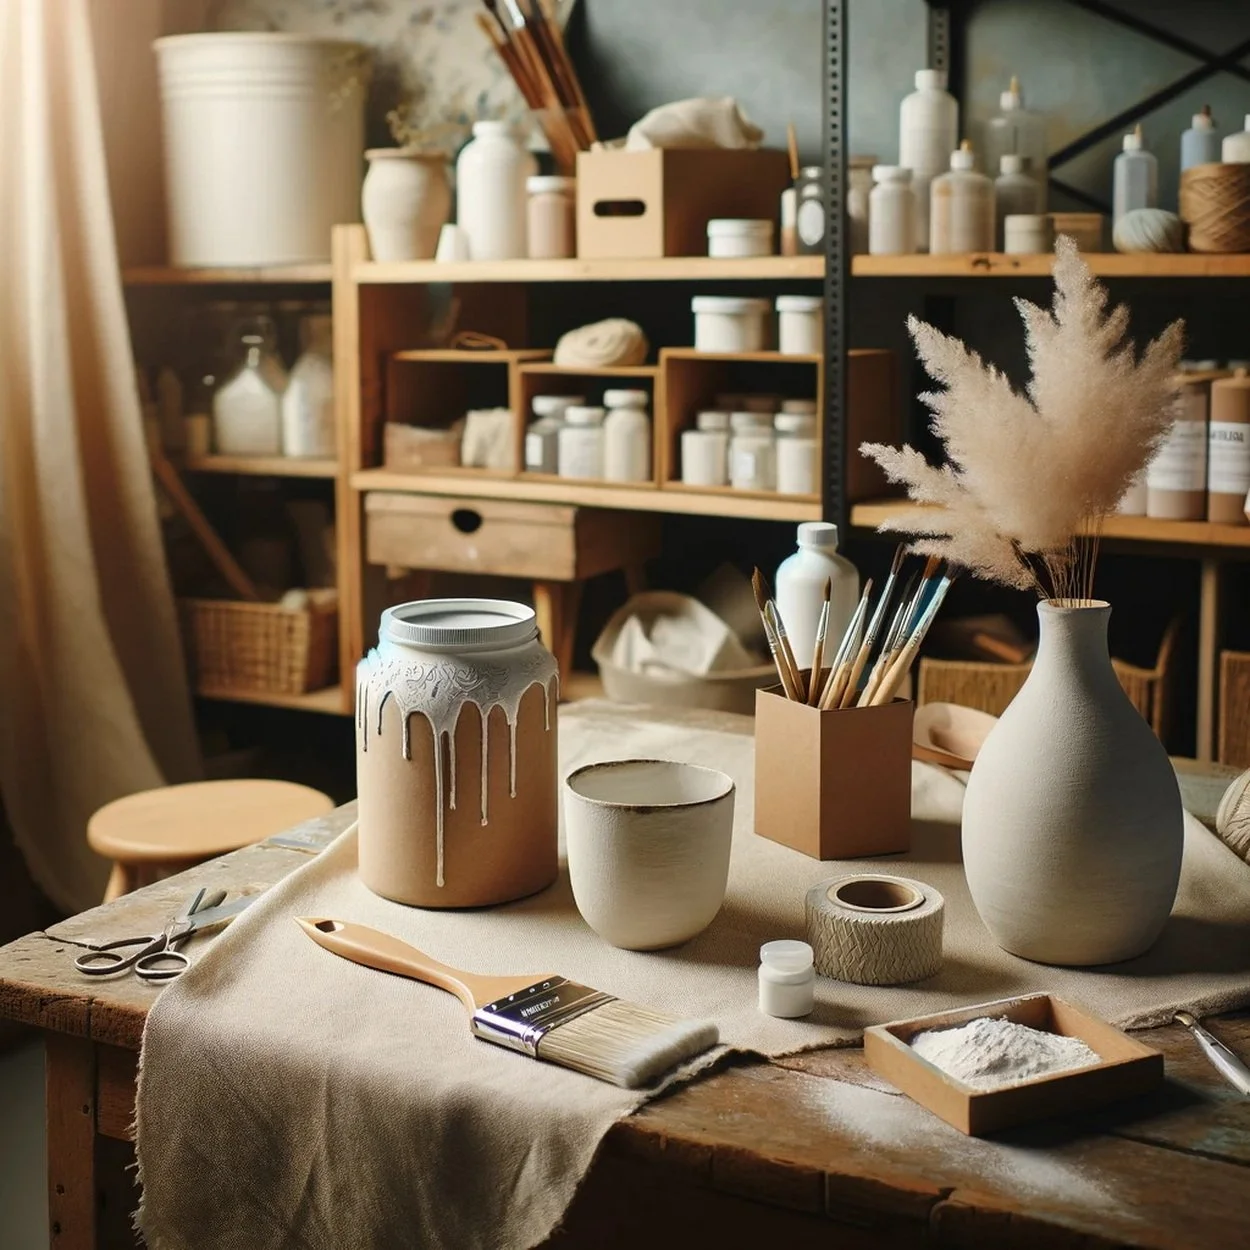
Materials Needed:
Plain vase
Baking soda
White paint (or color of your choice)
Paintbrush
Palette or mixing plate
Step 1: Prepare Your Space
Start by laying down a drop cloth or old newspapers to protect your workspace. This is an important step to ensure that your crafting area remains clean and any spillage can be managed easily.
Step 2: Mix Your Paint
Pour some white paint onto your palette. Gradually add baking soda and mix it into the paint. Keep adding and mixing until you achieve a thick, textured paste. The baking soda will not only thicken the paint but also give it a gritty texture, perfect for creating a unique finish on your vase.
Step 3: Apply the Paint
Dip your paintbrush into the textured paint and apply it evenly to the surface of the vase. Make sure to cover the entire vase to maintain a cohesive look. Don’t worry about getting it perfectly smooth; the texture is what you’re aiming for!
Step 4: Add Texture Magic
Once the vase is fully covered, take a moment to dab the brush gently onto the wet paint. This technique will add more texture and depth to the painted surface, enhancing the handcrafted appeal of the vase.
Step 5: Dry and Admire
Let the vase dry completely. This may take a while, depending on the thickness of your paint and the humidity in your room. Once dry, you'll have a beautifully textured vase that’s ready for styling in your home.
Finishing Touches: Once the vase is dry, decide whether you want to fill it with flowers or leave it as is for a simple, minimalist look. Both ways highlight the textured effect and make for a stunning home decor piece.
Conclusion: With just a few materials and simple steps, you've transformed a plain vase into a stylish and textured piece of home decor. This easy DIY project is perfect for adding a personal touch to your space or crafting a unique gift for a friend.
Transform Your Vase: A Textured Paint DIY
Unleash your creativity and give your old vases a stunning makeover with our Transform Your Vase: A Textured Paint DIY guide. This project is perfect for adding a unique touch to your home decor. To assist you in this artistic transformation, I’ve compiled a list of sources, each linked to a keyword, to provide you with the best tutorials and tips for creating textured vases.
Textured Paint: Learn how to mix paint and baking soda to create a textured effect from Chalking Up Success.
DIY Tutorial: Watch a step-by-step video on creating an aged pottery look with textured paint by Chalking Up Success.
Baking Soda: Discover the role of baking soda in creating texture for your vases with Arm and Hammer.
Plaster Paint: Explore how to make your own plaster paint for texturing vases with The DIY Mommy.
May these sources guide you in transforming your vases into beautiful, textured works of art. Enjoy the process and the beautiful results!