
Cascading Curls Updo: A Step-by-Step Guide to a Stunning, Versatile Hairstyle
Embracing natural curls can transform your look, adding a touch of elegance and playfulness to your style. The chic and playful updo is a hairstyle that does just that. It's perfect for a variety of occasions, from a day at the office to a night out on the town. This tutorial will guide you through creating this stunning look, step by step.

Cascading Curls Updo: A Step-by-Step Guide to a Stunning, Versatile Hairstyle
@hairflairaffair Elevate Your Curls: Chic and Playful Updo!” TikTok Post: Unveil the secret to turning heads with your tresses! 🌟 Embrace your curls with this chic and playful updo that’s as versatile as it is gorgeous. Whether it’s a day at the office or a night on the town, this style keeps your curls bouncy and beautiful. Ready to rock this look? Save and try it out for your next big event! 💃🏻✨ Hashtags: #HairGoals #Curls #UpdoTutorial #StyleInspiration #BeautyTips #TikTokFashion #ElegantHairstyles #HairTransformation #CurlPower #TikTokTrends #hair #hairstyle #hairstyles ♬ Scared To Start - Michael Marcagi
Step-by-Step Guide
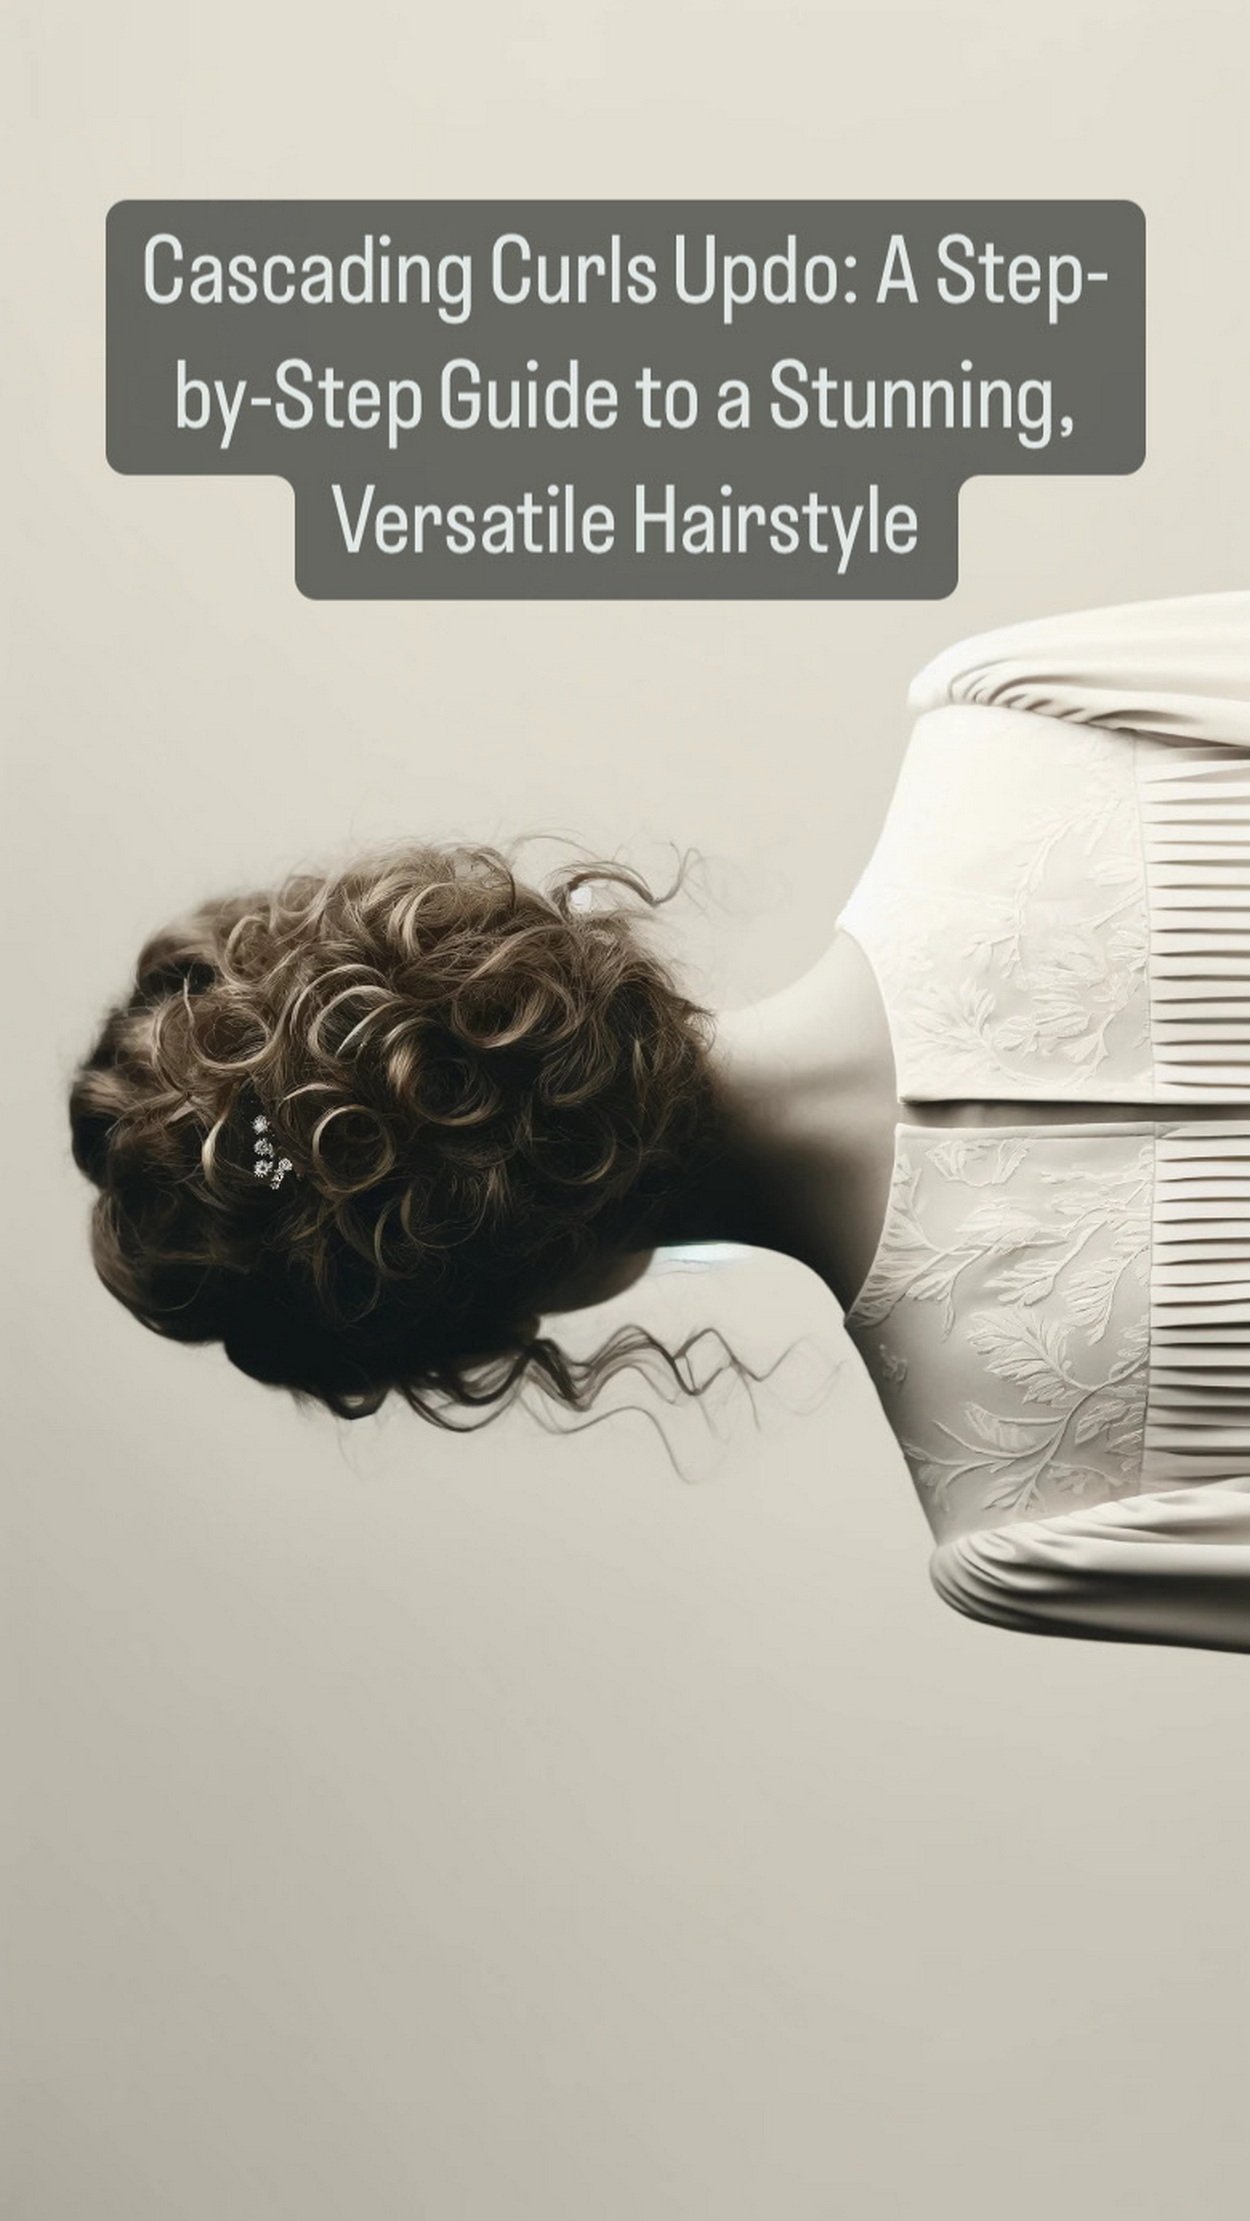
Step 1: Prepare Your Hair
Begin with dry, naturally curly hair. If your hair isn't curly, use a curling iron to add some waves.
Apply a heat protectant if you're using a curling iron, followed by a curl-enhancing product to define your curls.
Step 2: Section Your Hair
Part your hair down the middle or slightly to one side, depending on your preference.
From the front of your hairline, pick up a section of hair about two inches wide and clip it away.
Repeat this on the other side so you have two sections clipped away at the front.
Step 3: Create the Updo
Gather the unclipped hair at the back into a ponytail and secure it with a hair tie.
Twist the ponytail into a loose bun and secure it with another hair tie or bobby pins, allowing some curls to fall out naturally.
Step 4: Style the Front Sections
Unclip one of the front sections and twist it away from your face.
Pull this twist back towards the bun and wrap it around the base of the bun, pinning it in place.
Repeat on the other side.
Step 5: Finishing Touches
Adjust any curls to frame your face.
Use hairspray for extra hold, especially if you have layers that are prone to slipping out.
Step 6: Accessorize (Optional)
Add hair accessories such as clips or flowers to give the updo a personalized touch.
Conclusion
The chic and playful updo is versatile and flattering for all curl types. It's a hairstyle that can be dressed up or down, making it ideal for any event. With this easy-to-follow tutorial, you can achieve an effortlessly beautiful look that's sure to turn heads. Remember, the key is to work with your hair's natural texture and to customize the style to suit your personal aesthetic. Enjoy your new, stunning updo!
Pro Tip: Always use products that are suitable for your hair type to keep your curls looking their best throughout the day.
Cascading Curls Updo: A Step-by-Step Guide to a Stunning, Versatile Hairstyle
Dive into the elegance of “Cascading Curls Updo: A Step-by-Step Guide to a Stunning, Versatile Hairstyle,” a blog post that will guide you through creating a breathtakingly beautiful hairstyle. This guide is designed to help you achieve a look that’s both sophisticated and versatile, perfect for any special occasion. To support your styling journey, we’ve curated a list of sources, each linked by a keyword, to provide you with a variety of techniques and tips. Let these resources be your guide as you master the art of the cascading curls updo.
Cascading Curls Updo Inspirational Sources:
May these sources inspire you to create a hairstyle that’s as stunning as it is versatile. Enjoy the beauty of cascading curls!


